Do you ever glance around in the room you’re sitting in and think, this couch would look so much better catty-cornered, you know…sitting at an angle? Or, lets take apart the armoire and use each piece as bedside tables? This is when Cowboy exits the building. Seriously y’all I have NEVER seen someone put their boots on as they are running out of a house backwards! He is HILARIOUS! He acts as if I need his help…as if!
I love to spend a weekend perusing antique stores, the fairs or just hitting up Hobby Lobby and Ross. And then anxiously return to 4G to re-arrange furniture, change up my wall decor or even to turn a bedroom into an office. I cried the entire time when I did that! The bedroom belonged to our Boy Wonder, but that’s another story.
Sometimes my creativity involves slapping a coat of paint on a door, table or chair and sometimes I’ll lather mastic on a piece of tile for a complete “re-do”. One never knows what I’ll come up with, just depends on what mood strikes my fancy.
I’m SO EXCITED to share my 4G finds with y’all and hope this page gets your creative juices “a flowing”!
A versatile piece from the Lost & Found collection. Make it an end table OR a centerpiece in the “gathering” room.
AND
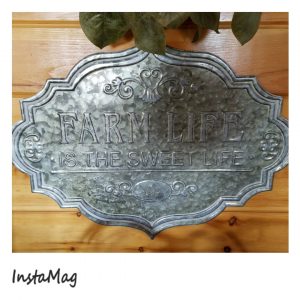
A “farm life” tin sign that’s great indoors or out!

CHRISTMAS at 4G


[rlslider id=852]

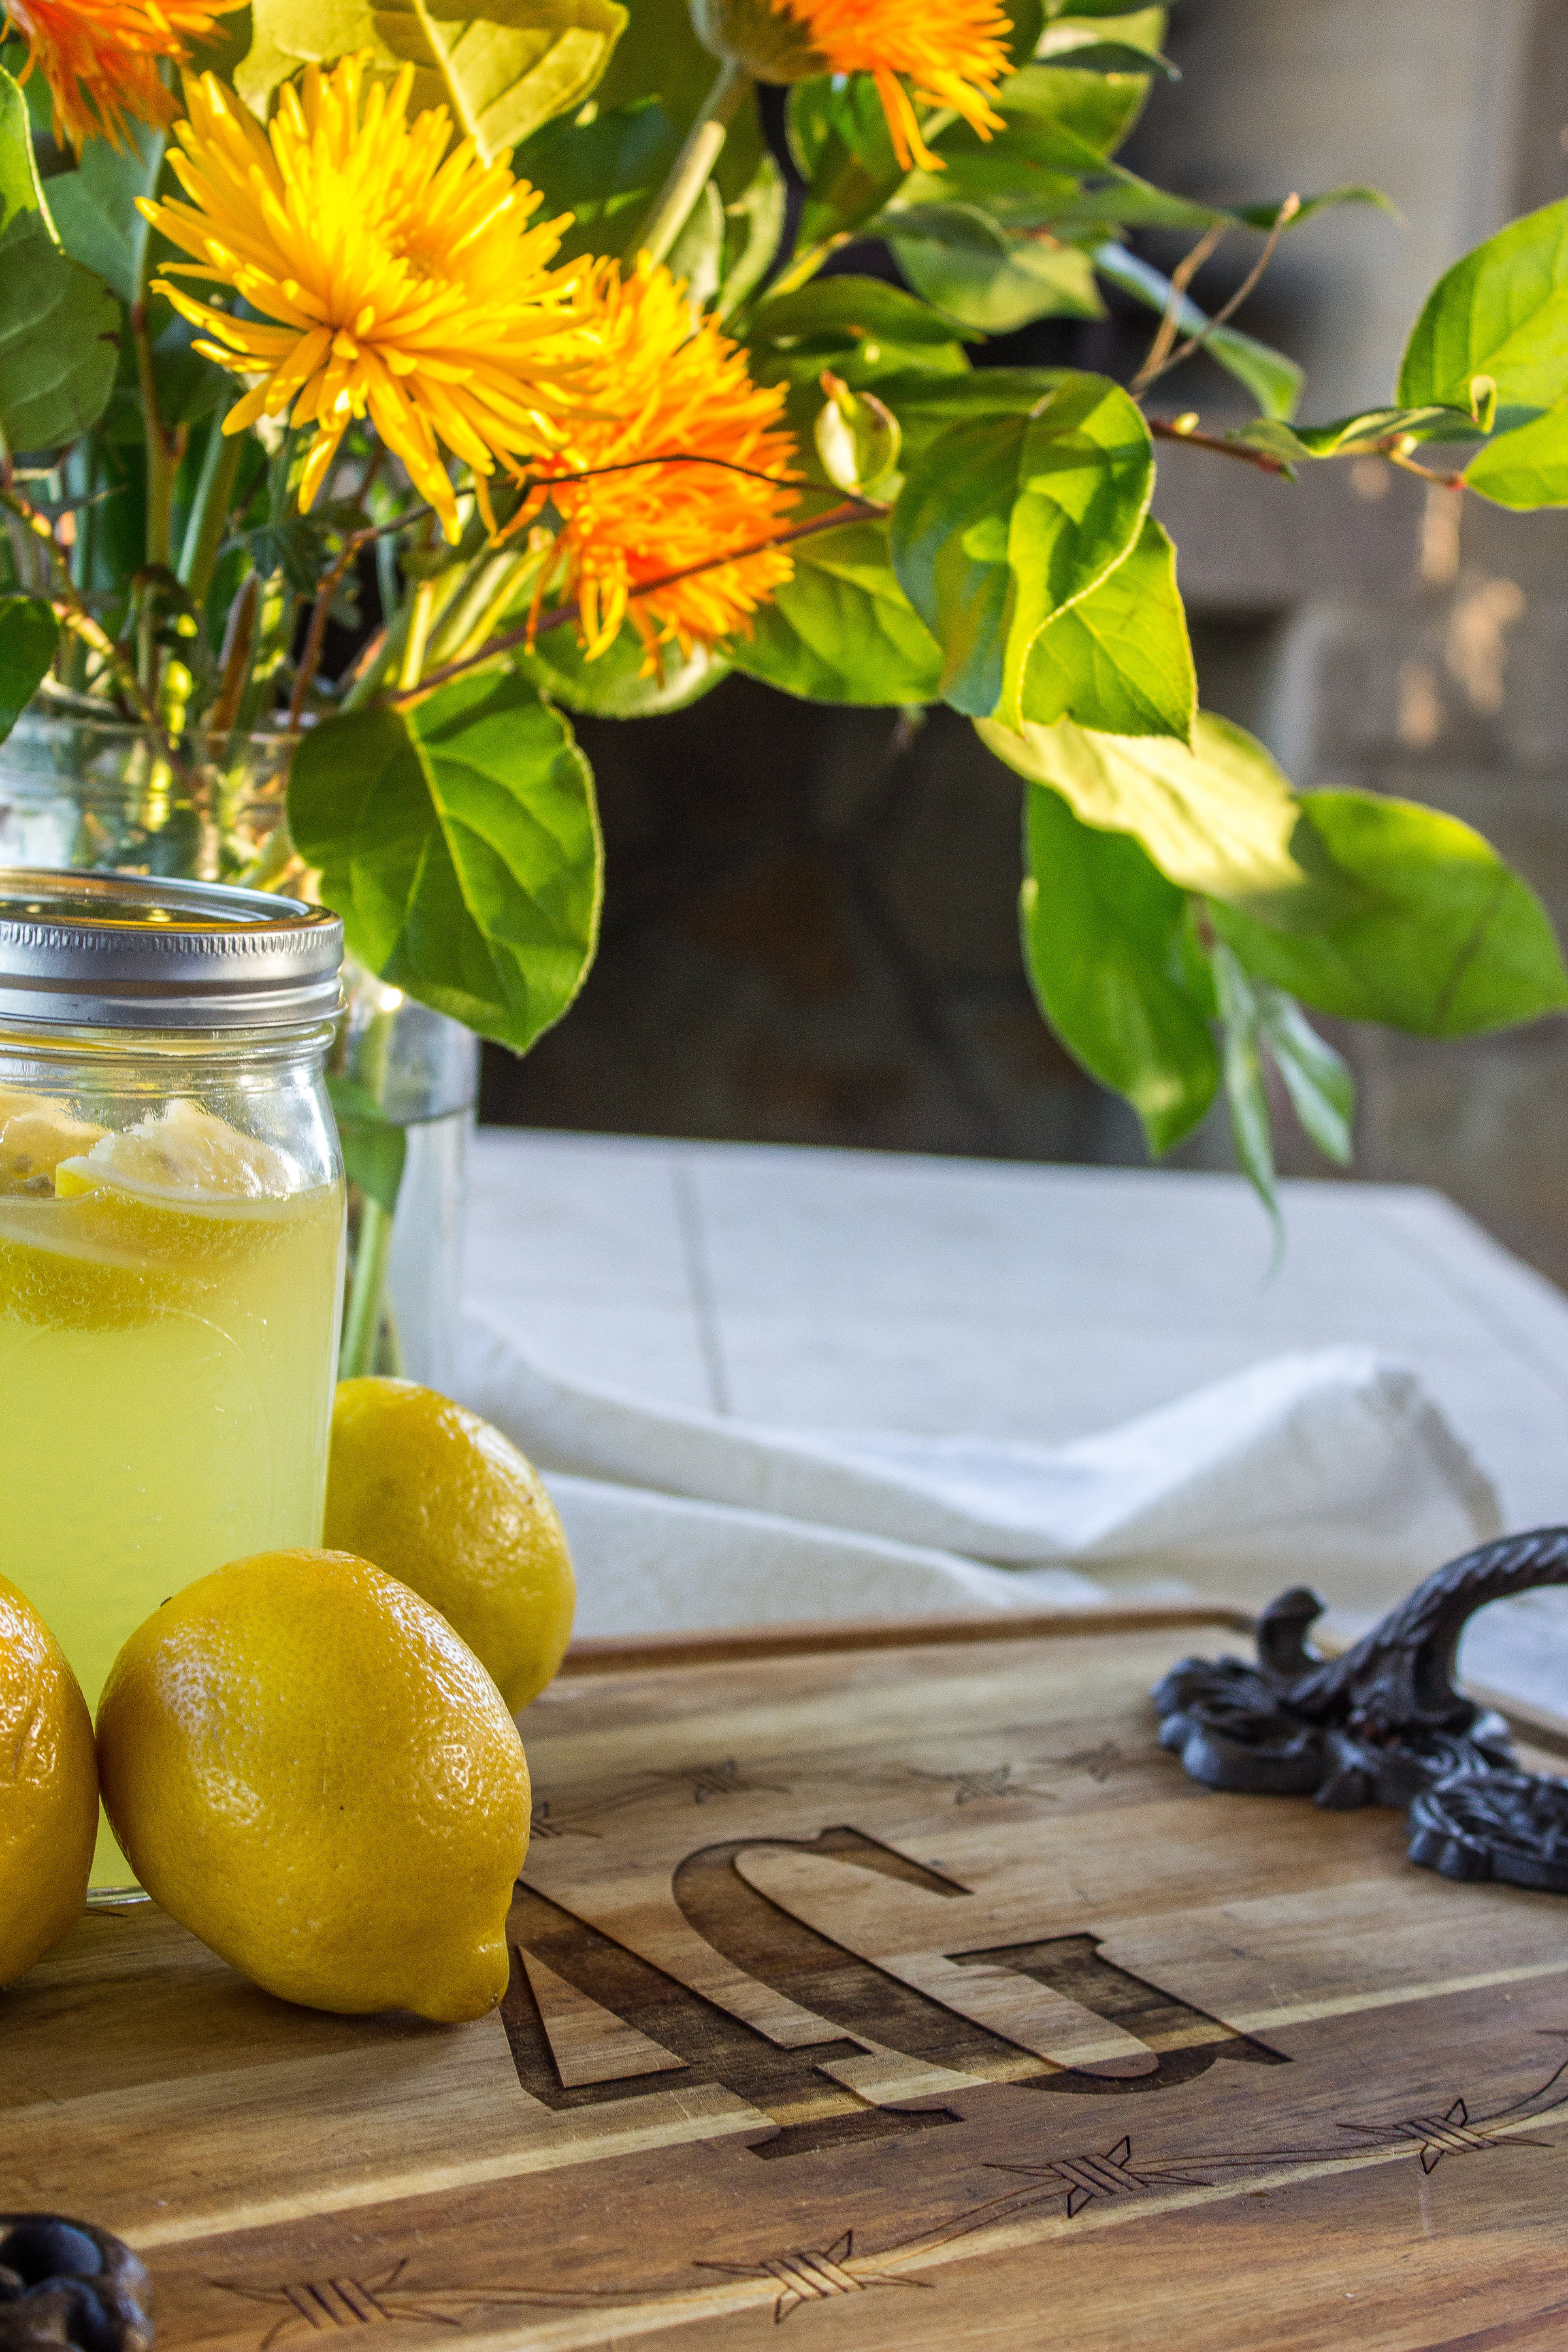
I am one happy “pretend” cowgirl! Fall is one of my favorite times of the year! I love everything about it. Pumpkin bread, pumpkin lattes, pumpkin scented candles…the list goes on and on. This year I decided to give my fall decor a facelift. After perusing my attic and decoration closet I found the perfect pumpkins to recycle. I frequently get asked what my color scheme will be each year (apparently I change things quite often) just ask Cowboy. This year my fall decorations will consist of farmhouse chic colors. Warm neutrals, wood, feathered owls, milk chocolate brown & lots of pumpkins!
So kick off your cheetah print heels, grab some plastic pumpkins, either from your attic or the dollar store and let your creativity flow!
Here’s my “how to” for the pumpkin rehab-
SUPPLIES:
Pumpkins of assorted sizes
2 Paint Colors, one for the body and one for the stem (I used leftover paint from one of my other projects) or you can purchase a sample color from Lowe’s
Paintbrushes (assorted sizes)
Elmer’s Glue & Gloves
Embellishments (ribbon, glitter, scrolls, design or initial stickers)
DIRECTIONS: Wash & dry the pumpkins, paint the body & let dry for 4 hours. Using a smaller brush, paint the stem & let it dry for 2 hours.
Choose your embellishments and glue the back side of it, then apply to your pumpkins.
Ta-da!!


Just as easy as that. Martha Stewart would be so proud of you!